
10 Tips and Tricks for Cooking with Fire:
A Quintessential Primordial Experience


Cooking With Fire – The Perfect Pour
Grilling season is upon us with the ushering in of the Memorial Day Weekend. In this post, I will give you the 10 Best Tips for grilling using the Weber grill and charcoal chimney. Specifically I will cover:
1. The art and theater of grilling
2. The “Perfect Pour” video demo
3. Getting the perfect grill marks on meats and much more!
Cooking With Fire
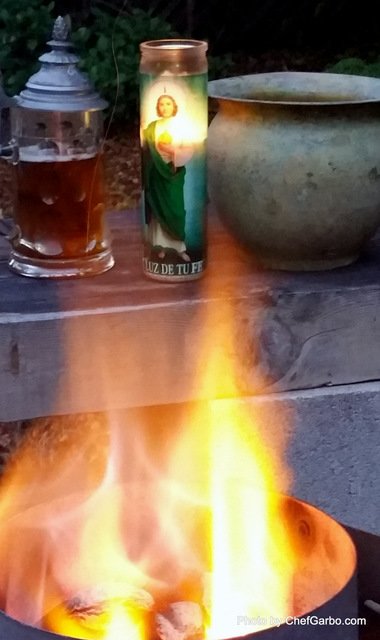
My husband Karl loves cooking with fire. Since he doesn’t have a man cave, cooking outdoors with flames is the next best thing. He creates his own zone where the music is playing, the cigar is smoking and the beer stein is flowing. Like a primordial man in his element, I just leave him alone with his fire and observe. And what I have learned is that cooking with fire is an art that takes time to master.
Drama and Showmanship – The Perfect Pour
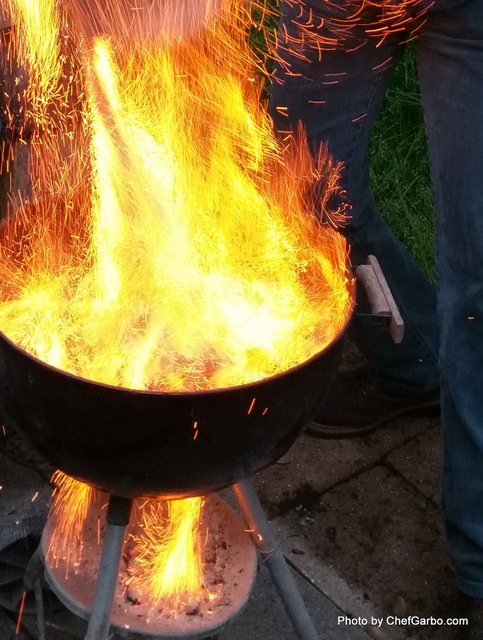
The below video demonstrates how to achieve the “Perfect Pour” with lots of beautiful flames, sparks and flare using a charcoal chimney. The “Perfect Pour” is all about the drama and showmanship that will impress your guests with a fire fall of excitement flowing from the Weber charcoal chimney.

10 Tips and Tricks on Cooking with Fire
Cooking with fire dates back to the Stone Age, but to this day, many of us still have not quite figured out how to control it when it comes to cooking over an open fire… Not even my husband. He sees it as a constant learning experience. What coals work best, what wood delivers the best heat or what combination creates the perfect smoky flavor for the meats?
Real fire is hard to create and hard to control. So, after many years of watching Karl work his magic, I will outline some tips and tricks that I have learned by observing him cooking with fire like a primordial man in the elements.

Cooking With Fire – Tips and Tricks
Tip #1 – Origins of the Weber Grill
Karl was born and raised in Chicago, home of the Weber grill. The Weber grill is the grilling vessel of choice for Karl as it distributes the heat evenly and being a history buff, he quite likes the origins of the Weber grill as well. Back in the 1950s, a sheet metal worker named George Stephens labored as a welder at the Weber Brother Metal Works near Chicago.

Cooking with Fire – Origins of the Weber Grill
There he assembled sheet metal spheres into buoys for the U.S. Coast Guard. One day he had the clever idea of cutting the spheres in half giving it a kettle like shape. Then he gave it three tripod-like legs and crafted a grate which separated the food from the coals which gave the grill master much more control over the distribution of heat compared to the store-bought BBQ models at the time.
His invention was such a huge success that Kingsford coal, creator of the briquette, increased its briquette production by nearly 40% during the 1950s. We’re talking about all the Patio Daddy-Os and the June Cleaver Mamas hosting the iconic backyard barbeques with the coals and Weber grills!
Tip #2 – Prepping the Chimney & the Coals
Cooking with Fire – Prepping the Chimney
Although Kingsford briquettes may be king for many backyard grillers, my husband has found that Stubb’s Cowboy Charcoal works best for him. Mr. Stubb’s briquettes are made from all natural material and are far superior to Kingsford when it comes to long lasting consistent heat, particularly when you are grilling slow and low.

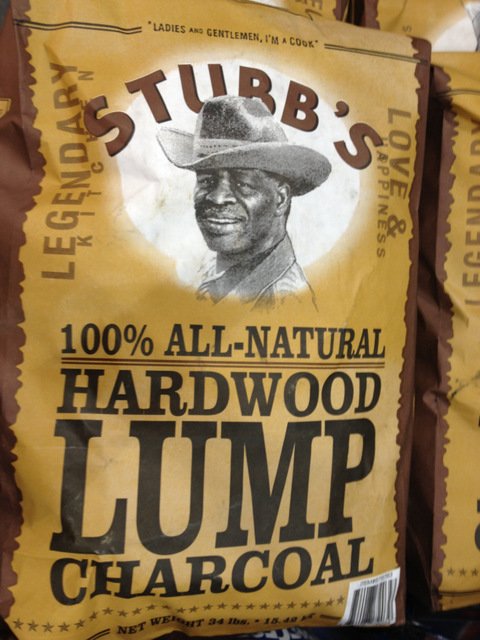
Cooking with Fire – Mr. Stubb’s Charcoal
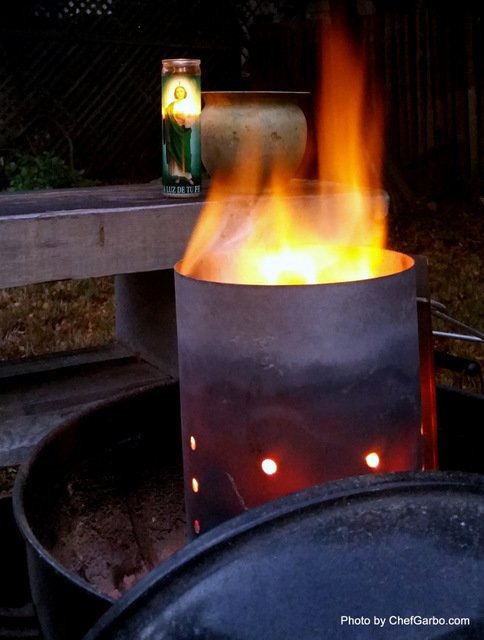
Many backyard fire-starters these days still use Kingsford charcoal with lighter fluid to get the coals going but it can be very volatile and give the food a fowl chemical taste. According to Karl a charcoal chimney is the way to go. It’s an inexpensive metal cylinder that you stuff with coal, newspapers and even wood if you desire. Hardwood charcoal is made of nothing but hardwood (no chemical fillers), burns hotter, and gives food a finer smoky flavor. Karl swears by the charcoal chimney method and Mr. Stubb’s coals, as there is more time to play with fire!
Tip #3 – Fire and Smoke Relationship

Cooking with Fire – Fire and Smoke Relationship
And contrary to what you might think, fire and smoke have an inverse connection to each other in the grill. Where there is fire there is no smoke. And conversely, where there’s smoke, there’s no fire.
The critical factor here is the amount of air that gets in and out of the chimney and grill. If the air is choked off the fire will be reduced to smoke. And if there is too much air, the flames will burn too hot turning your meats into charred carbon lumps. So learn to control the air flow to the coals to get an even slow and low burn which will deliver a superior smoky flavor to your meats.
Another tip is to get the coals going at least 20-40 minutes before you actually cook your meats. Start the pre-burn early as you want your fire to be well established before placing the meats on the grill. Fire grilling is a style of cooking that is both art and technique where careful timing is everything. The last thing you want is a bunch of “hangry” guests on your hands as you work at getting the fire right!
Tip #4 – Marinade the Meats for the Grill

Cooking wth Fire – Marinate the Meats
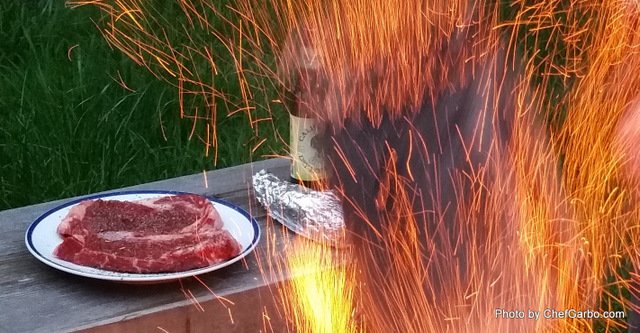
Many fire meisters agree that it’s best to make sure your meats are close to room temperature before grilling as you have more control of the perfect medium rare result. A great way to do this is to create a marinade while you wait.
For steaks, a simple salt and pepper rub works fine one hour prior to grilling. For baby back pork ribs, I prefer a spice rub that tenderizes the meat as it marinates imparting an aromatic flavor. To achieve the perfect “fall off the bone” result, I like to cook the pork ribs slow and low in the oven with dry heat at 300 degrees for 2-3 hours then finish them off on the Weber grill to achieve the delicate smoky flavor at the end.
Tip #5 – The Perfect Pour

Cooking with Fire – The Perfect Pour
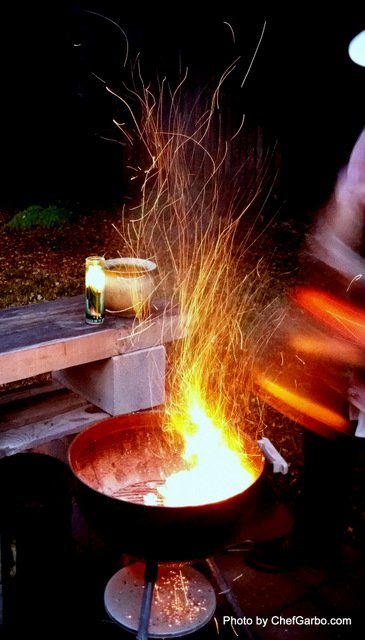
Since we spend so much time with the Weber grill we have developed a little ritual I like to call the “Perfect Pour”. This is the moment where the coals have reached their peak in the chimney and are ready to be poured into the Weber gill.
Timing is everything here for me as a Personal Chef and Food Photographer. The challenge is to capture the flames and sparks that fly off the chimney, in a split second photographic moment, as Karl carefully lifts the chimney and pours the coals out without burning his hands. This for me is the most exciting moment of our BBQ festivities because it’s so difficult to capture the “Perfect Pour”. I achieved it once, by accident or dumb luck of course, and have not been able to capture it again. But practice makes perfect and we’re still working on it after months of trial and error.
Tip #6 – Be Patient – Let the Coals Settle

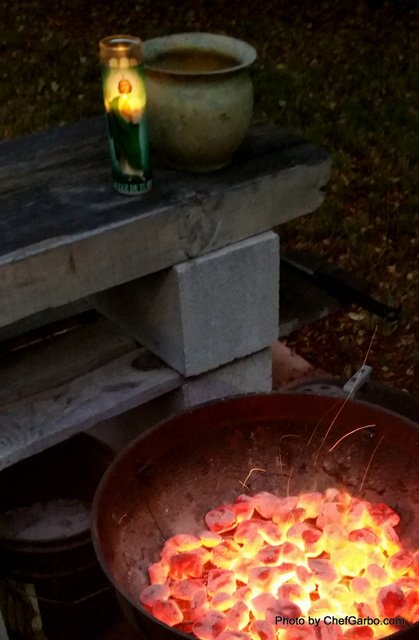
Cooking with Fire – Let the Coals Settle
After the “Perfect Pour” Karl scatters the “dancing coals”, as he affectionately refers to them, so they can settle and to ensure that the heat is distributed evenly. He tamps them down when necessary like a 2-step boogie.
Cooking with fire does not mean you place the meats on an open flickering flame and expect good results. To the contrary, you want coals that have settled down, ashed over and exhibit a soft orange glow. Place the meat within close proximity of soft coals to get the job done and it will impart a slightly smoky flavor along the way.
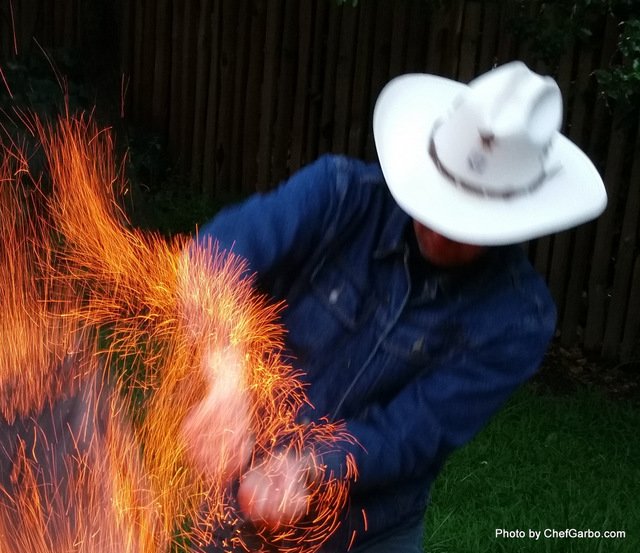
Tip #7 – Embrace the Flare Ups – Fat is Good

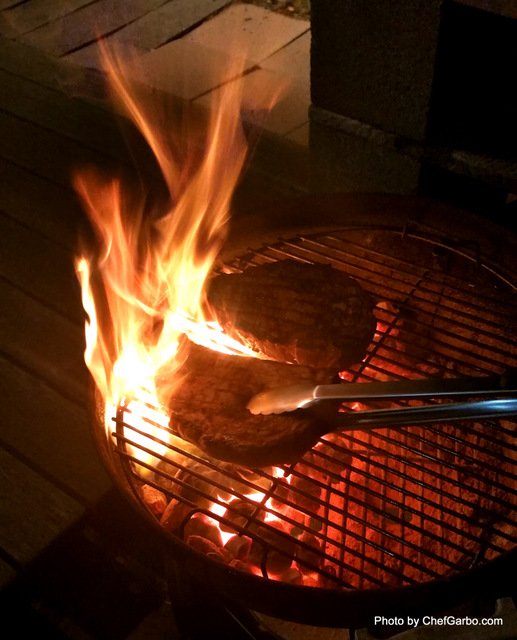
Cooking with Fire – Embrace the Flare Ups
Don’t be spooked by the flare ups. Fat is good!
Karl loves the licking flames because it adds drama. These little grease explosions happen when fat starts to render into the fire and shoot upward in great orange plumes which is a good thing. It means your meats have a good amount of fat which makes them flavorful.
You might think that these minor solar flares threaten to incinerate whatever is above them, but really, all they do is provide some excitement and a little extra browning. If flames do get out of control, simply pull the meat off to the side for more indirect heat or close the grill lid which chokes off the air flow.
Pieces of meat that are less than an inch thick are hard to get really brown and crusty without over cooking them. So when their fat drips, and the fire flares, and a chain reaction of more dripping and more flaring occurs, you ought to thank the gods of barbecue rather than frantically pulling your meats away. (Though you shouldn’t just ignore it, either. There is such a thing as a grease fire.) While you can burn even a thick piece of meat, that’s more often caused by leaving it on too long—which usually happens over slower fires, not faster ones.
Tip #8 – Don’t Man Handle Your Meats – Get the Grill Marks!

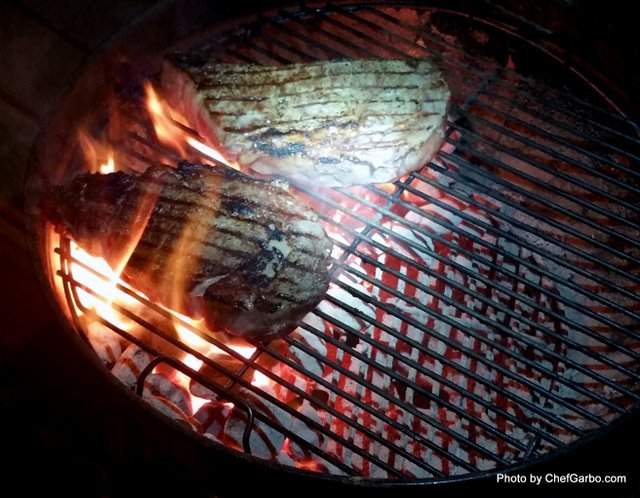
Cooking with Fire – Don’t Man Handle the Meat
Often times, especially with inexperienced backyard cooks on grills, you see the meat getting flipped and turned continuously. Don’t turn the meats too often…I mean it! You don’t want gray meat either! I am talking about dark brown, maybe event black in parts where the grill marks happen. Doing this lets the chemistry of cooking work for you. Resist the temptation to flip too much and let things cook.
Meats that are cooked over coals need to stay in one place long enough to get cooked and to achieve grill marks which adds to the aesthetics. Grill marks were the demise of my husband back in his culinary school days. Part of his training included an internship at a high end SF restaurant which demanded perfect grill marks. He never did master the 45 degree angle needed to achieve the diamond grill mark and thus was fired.
Crazy isn’t it? I, on the other hand, a grill novice at best, was able to achieve the perfect grill mark to his dismay. To do this, I purchased a 2 inch thick NY Strip steak and timed the flip for every 2 minutes from start to finish… 8 minutes total for a medium rare result. I achieved perfect grill marks by placing the steak on the grill at a 45 degree angle and let it cook for 2 minutes, and with tongs, lifted it gently and rotated it 45 degrees in the opposite direction to get the diamond shaped grill mark and cooked another 2 minutes. I repeated the same process on the flip side. The result was a beautiful NY Strip steak cooked to perfection with grill marks and all.
Tip #9 – Let the Meat Rest – Don’t Over Cook It!


Cooking with Fire – Let the Meat Rest
Karl actually taught me the concept of letting the meat rest well before I became a Personal Chef way back when. Cooking over an open flame means cooking at higher temperatures for longer periods of time which means carryover time.
Carryover time occurs when the meat is resting after it’s been removed from the heat source and will continue to cook. Plan to remove the meat from the grill 10 to 15 minutes before the desired temperature is reached. For a perfectly cooked medium rare rib-eye steak at 135-145 degrees, you need to remove the steak when it reaches 125 degrees and let it rest under tented foil for about 10 minutes to reach medium rare perfection at 135 degrees.
For larger items, carryover can continue for up to 20 minutes and result in a 5 to 10 degree internal temperature difference. It’s important to know that foods that are cooked over coals stay hotter for longer periods of time. This is especially true for corn on the cob wrapped in foil as it will continue to steam after it’s removed from the heat.
Tip #10 – Grilling Tips from the BBQ Pit Boys

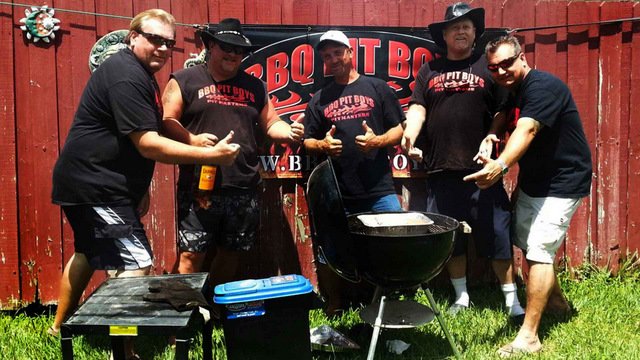
Cooking with Fire – BBQ Pit Boys
Karl gets his inspiration from many online sources with regard to grilling. One of his favorites are the BBQ Pit Boys. Check it out to learn some great tips and tricks of the trade when it comes to grilling meats to perfection over an open fire.
Best Ever Slow and Low BBQ Baby Back Ribs

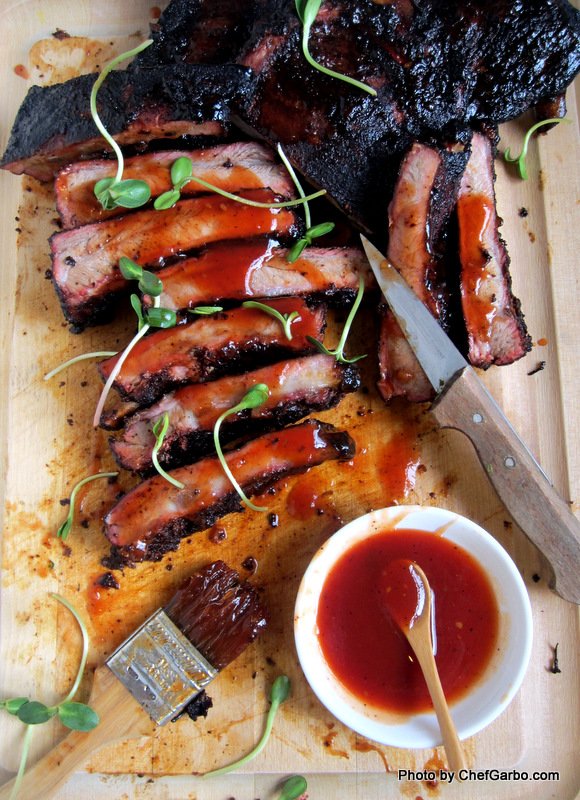
BBQ Baby Back Pork Ribs with Bone Suck’n Sauce
This is my favorite recipe for slow and low BBQ baby back ribs. The recipe features a very aromatic Indian style spice rub where you let the ribs marinate for 24 hours or more. I let the ribs cook slow and low in the oven for 2-3 hours at 325 degrees. Finally, I let Karl finish them off on the Weber grill for about 10-20 minutes in indirect heat to get the nice smoke flavor that the Mr. Stubb’s coals impart to the pork…Yum!
Conclusion
It’s time to start cooking with fire! With Memorial Day coming up this weekend, now is the time to get cooking using all the tips and tricks just outlined and have yourself a blast of fire doing it!